
Introduction
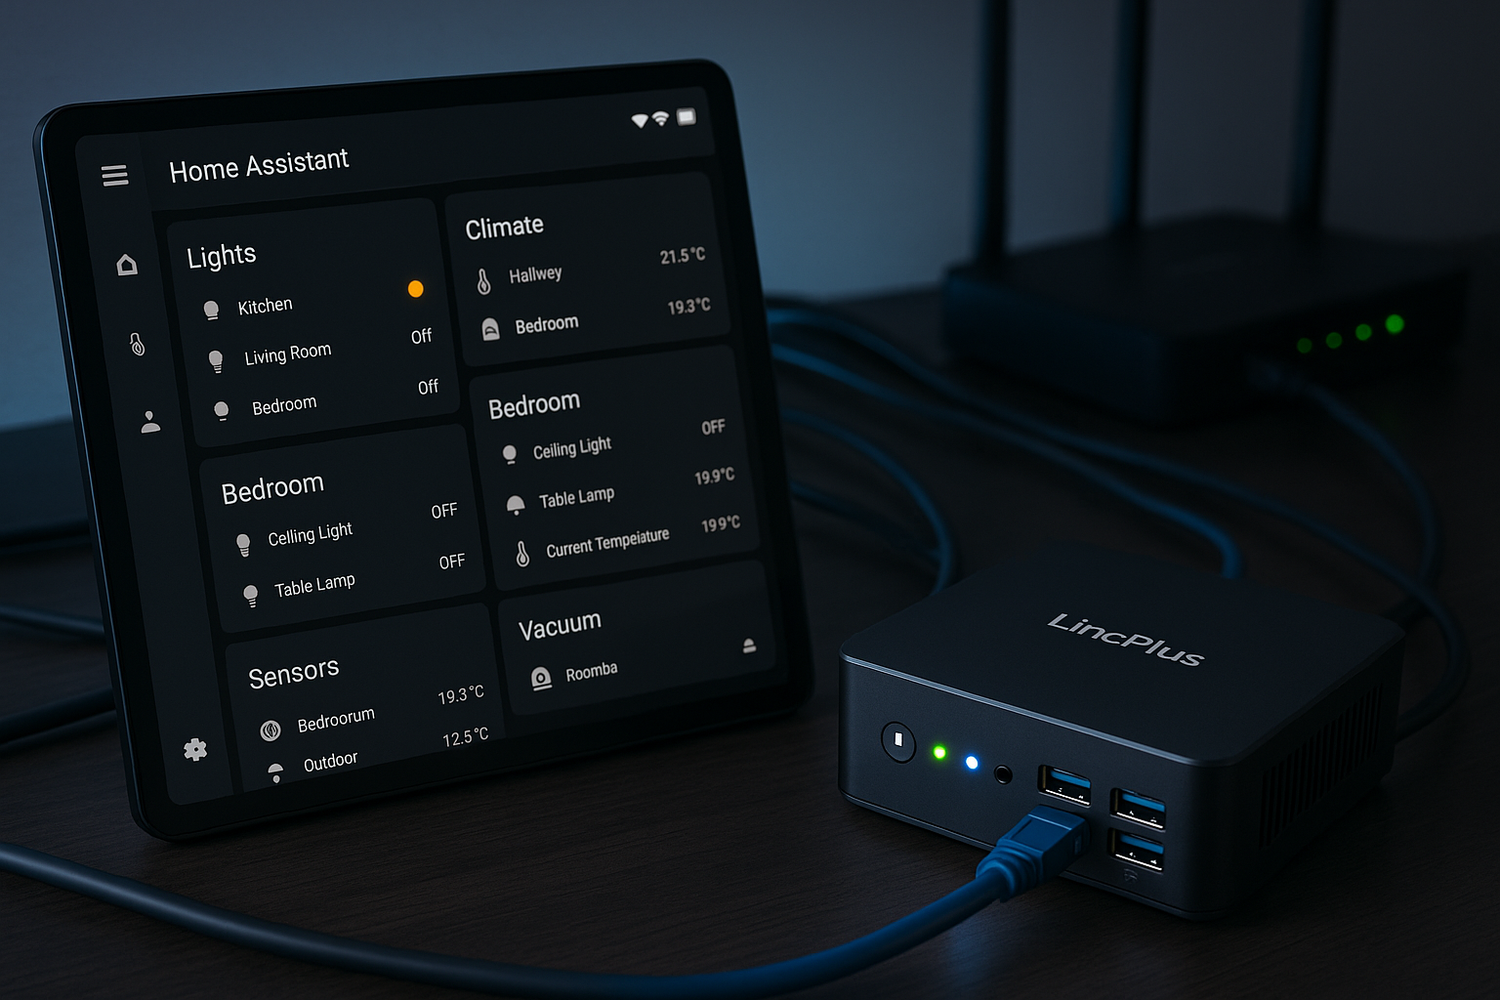
The smart home revolution is growing faster than ever. From voice-controlled lights to intelligent climate control and home security, people are embracing automation to make their daily lives more convenient and efficient. At the center of this transformation is Home Assistant, one of the most powerful open-source smart home automation platforms.
While Home Assistant can be run on many devices—from Raspberry Pi to dedicated servers—more and more users are turning to NAS (Network-Attached Storage) devices as the ideal host. Running Home Assistant on NAS brings together reliable storage, 24/7 operation, and powerful hardware that many households already own for file sharing or backups.
In this guide, we'll explore everything you need to know about NAS Home Assistant setups, including why NAS is a great choice, how to install Home Assistant on NAS, the best platforms to use, and common use cases. Whether you're new to smart home automation or a seasoned Home Assistant user, this article will help you unlock the full potential of combining NAS and Home Assistant.
What is Home Assistant?
Home Assistant is an open-source smart home automation platform that integrates with thousands of devices and services. With it, you can control smart bulbs, thermostats, security systems, cameras, media devices, and much more—all from a single dashboard.
Key features of Home Assistant include:
- Wide compatibility: Works with Zigbee, Z-Wave, MQTT, Matter, and countless IoT devices.
- Automations: Create rules like "turn off the lights when nobody is home" or "start the coffee maker at 7 AM."
- Privacy-first: Run locally on your own hardware without relying on the cloud.
- Custom dashboards: Tailor your smart home control panel exactly how you like.
Traditionally, Home Assistant is installed on a Raspberry Pi or a small server, but running Home Assistant on NAS has emerged as a powerful alternative.
Why Run Home Assistant on NAS?
A NAS (Network-Attached Storage) is a device designed to store and share files across your home or office network. Popular brands include Synology, QNAP, TrueNAS, and Unraid. Modern NAS devices do far more than storage—they run applications, host virtual machines, and even serve as personal cloud platforms.
Here's why running Home Assistant on NAS makes sense:
1. Always-On Operation
NAS devices are designed for 24/7 uptime, which is perfect for Home Assistant, since smart home automation should always be available.
2. Centralized Storage
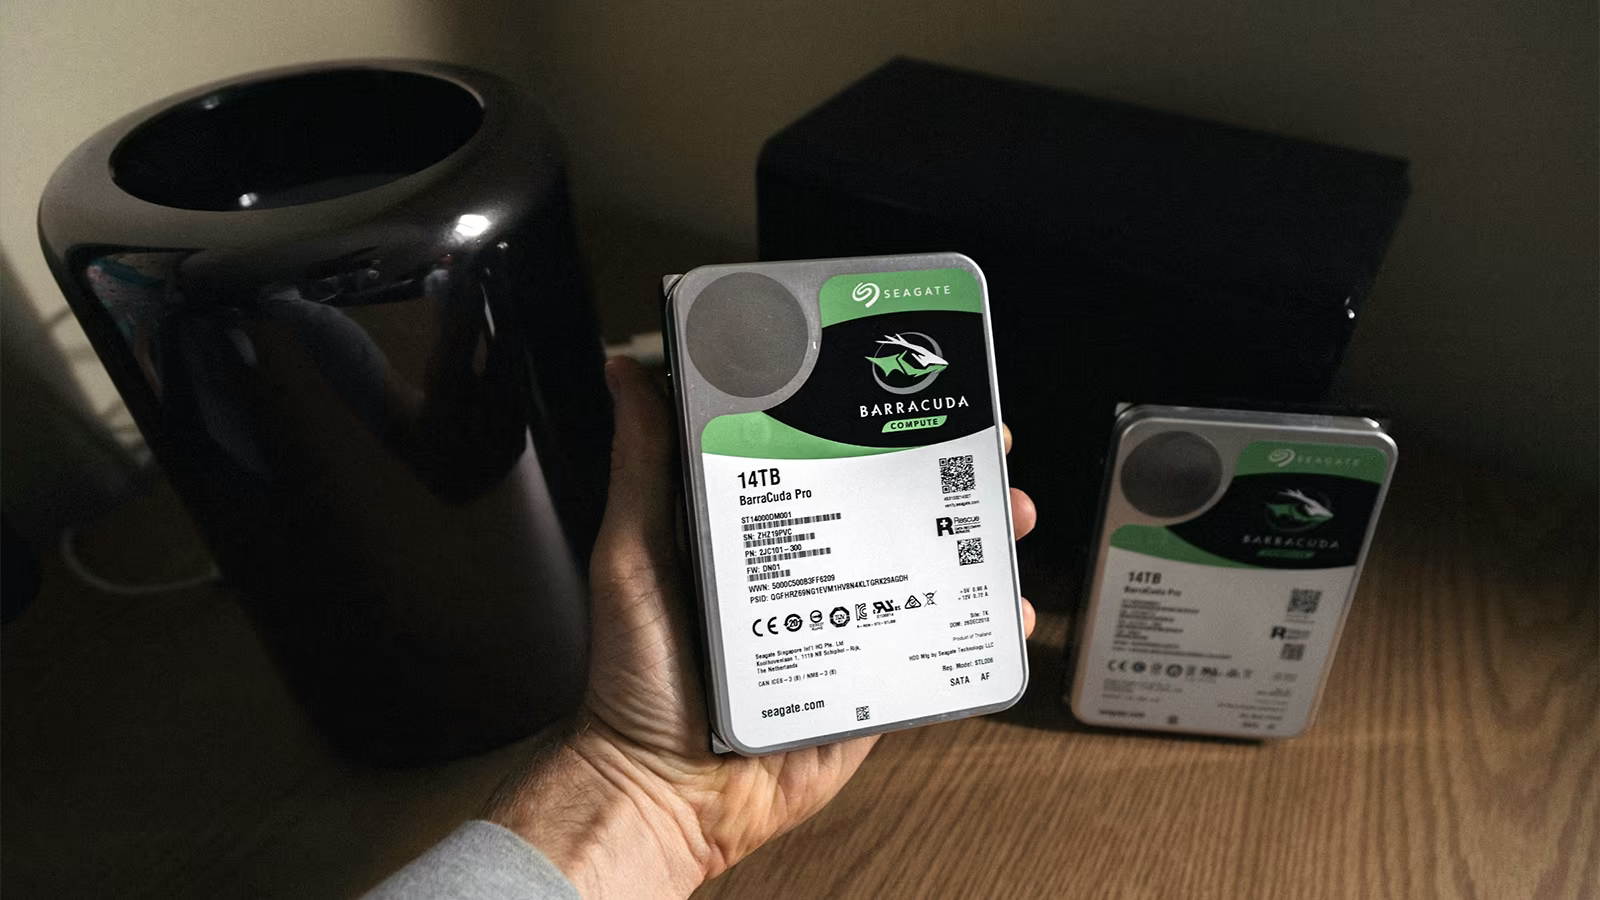
Home Assistant often needs to store logs, backups, and camera footage. Hosting it on a NAS means all this data stays in one place.
3. Powerful Hardware
Compared to Raspberry Pi or low-power mini PCs, NAS devices often come with stronger CPUs, more RAM, and multiple drives.
4. Virtualization Support
Many NAS platforms allow you to run Docker containers, virtual machines, or lightweight apps, which makes installing Home Assistant easy and flexible.
5. Consolidation
Instead of buying a separate device for automation, you can use the NAS you already have—saving cost and simplifying your setup.
Benefits of NAS Home Assistant
- Reliability: NAS devices are built for constant uptime, so your automations run without interruption.
- Scalability: Add more drives for additional storage or expand RAM for better performance.
- Integration: Access Home Assistant alongside your existing NAS services like Plex, Nextcloud, or backups.
- Cost Savings: No need for extra hardware—if you already own a NAS, you can reuse it.
- Remote Access: Most NAS platforms support secure remote connections, letting you control your smart home from anywhere.
Popular NAS Platforms for Home Assistant
1. Home Assistant on Unraid NAS
Unraid is a flexible NAS OS that's especially popular with DIY enthusiasts. It allows you to run Home Assistant via Docker or VM.
Pros:
- Great for custom builds
- Very flexible storage options
- Active community
Cons:
- Paid license required
- Setup takes more technical knowledge
2. Home Assistant on Synology NAS
Synology is known for its DSM (DiskStation Manager) operating system, which includes Docker support. You can easily run Home Assistant as a Docker container or virtual machine.
Pros:
- User-friendly interface
- Strong app ecosystem
- Good balance of performance and reliability
Cons:
- Limited hardware upgrades on some models
3.Home Assistant on QNAP NAS
QNAP offers more powerful hardware options, often with Intel or AMD CPUs, which are perfect for virtualization.
Pros:
- Strong performance
- Virtualization Station for running Home Assistant in a VM
- Rich set of expansion options
Cons:
- Interface can be more complex for beginners
4. Home Assistant on TrueNAS
TrueNAS is a free, enterprise-grade storage OS that supports containers and VMs. Perfect for those who want reliability and performance.
Pros:
- Open-source and free
- Rock-solid stability
- Powerful ZFS storage
Cons:
- Best suited for advanced users
How to Install Home Assistant on NAS
Method 1: Docker (Most Common)
- Install Docker on your NAS (available on Synology, QNAP, Unraid, etc.).
- Download the official Home Assistant container image.
- Configure persistent storage for Home Assistant' config files.
- Map ports for web access (default is 8123).
- Start the container and access Home Assistant at http://yourNASip:8123.
Method 2: Virtual Machine
- Enable virtualization support (Intel VT-x/AMD-V).
- Create a VM with at least 2GB RAM and 2 CPUs.
- Install Home Assistant OS as the guest system.
- Connect to Home Assistant through your NAS interface.
Method 3: Direct App Packages
Some NAS vendors (like Synology) offer direct third-party packages for Home Assistant, making setup even simpler.
Use Cases: Why Home Assistant on NAS Rocks
1. Smart Lighting Control
Control all your lights with schedules, motion sensors, and voice assistants.
2. Security & Surveillance
Store IP camera footage directly on your NAS while Home Assistant manages notifications and alerts.
3. Energy Management
Track energy usage across devices and optimize your home's power consumption.
4. Home Entertainment
Integrate Plex or Jellyfin with Home Assistant to control your media center automatically.
5. Smart Climate
Automate heating, cooling, and ventilation with temperature and humidity sensors.
6. Backups and Data Storage
Use the NAS for Home Assistant backups to ensure you never lose your automations.
Challenges & Considerations
- Complex Setup: Running Home Assistant on NAS may require Docker or VM knowledge.
- Resource Allocation: Make sure your NAS has enough CPU and RAM to handle both storage tasks and automation.
- Updates: Keep Home Assistant and NAS firmware updated for security.
- Compatibility: Some lower-end NAS devices may not support Docker or virtualization.
FAQs
Q1: Can any NAS run Home Assistant?
Not all. Your NAS must support Docker or virtualization.
Q2: Is running Home Assistant on NAS better than Raspberry Pi?
Yes, if you already own a NAS, it's more reliable and powerful. But Pi is cheaper if you don't have a NAS.
Q3: Can I use NAS as a smart home hub?
Absolutely! With Home Assistant, your NAS becomes the central hub for all automation.
Q4: Is it safe to expose Home Assistant on NAS to the internet?
Yes, but use secure methods like VPN, HTTPS, and strong passwords.
Conclusion
Running Home Assistant on NAS is one of the smartest choices for home automation enthusiasts. By combining the always-on reliability of a NAS with the flexibility of Home Assistant, you get a powerful, scalable, and secure smart home hub that goes far beyond traditional setups.
Whether you're using Synology, QNAP, Unraid, or TrueNAS, your NAS can become the heart of your smart home. From controlling lights and thermostats to managing security cameras and energy consumption, NAS Home Assistant offers a seamless, centralized solution that grows with your needs.
So if you're ready to take your smart home to the next level, it's time to consider Home Assistant on NAS—a perfect match of automation and storage.
Hinterlasse einen Kommentar
Alle Kommentare werden vor der Veröffentlichung geprüft.
Diese Website ist durch hCaptcha geschützt und es gelten die allgemeinen Geschäftsbedingungen und Datenschutzbestimmungen von hCaptcha.