If you would like to try Linux but are worried about messing things up, read on! It's less complicated than you would think to install Linux on a desktop computer or laptop. Pick a Linux OS, create the necessary installation disks, and wait. Though seemingly straightforward, there are really a few complexities. In this tutorial, we'll explore the most straightforward approaches of setting the BIOS and installing Linux on your LincPlus laptops. Read on for more explanation in the next sections of this manual.
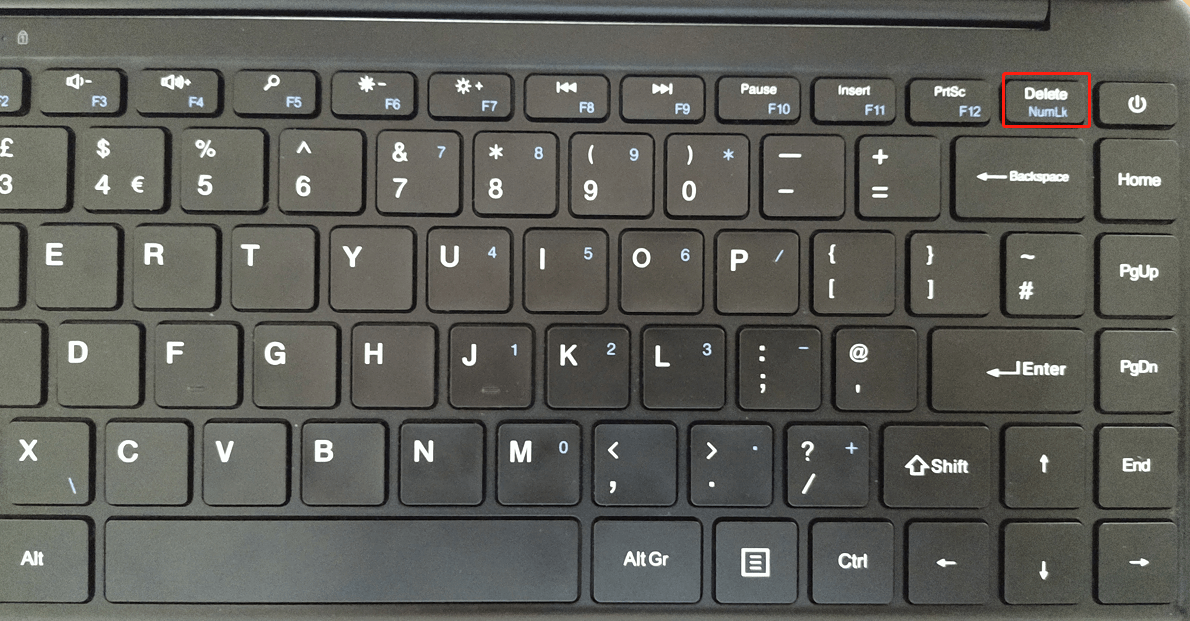
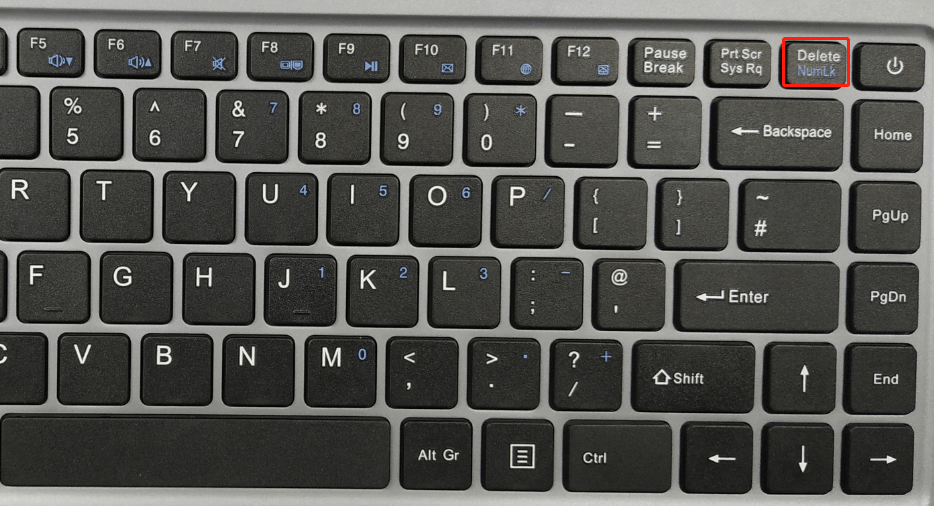
1. If you use the P1 and P2 laptop, place the USB flash drive in the laptop's USB port. Turn on the laptop and hit "Delete" until the BIOS configuration interface appears on the screen. (Continuously press the "Delete" key).
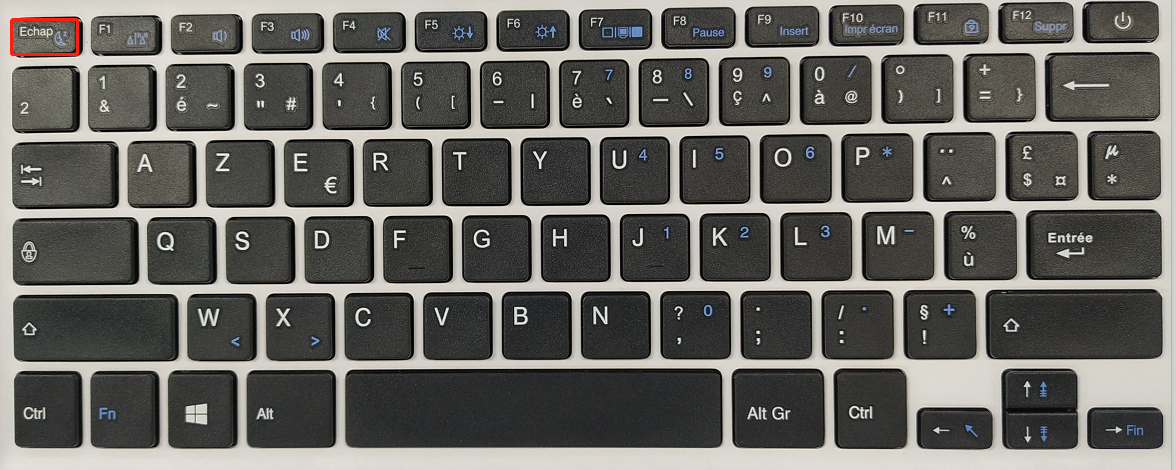
If you use the P3 laptop, insert the USB flash drive into the USB port of laptop. Turn on the laptop and press  until the BIOS setup interface displays on the screen. (Knock
  continuously)
2. Set "Advanced->CPU Configuration->Monitor Mwait" to "Disabled";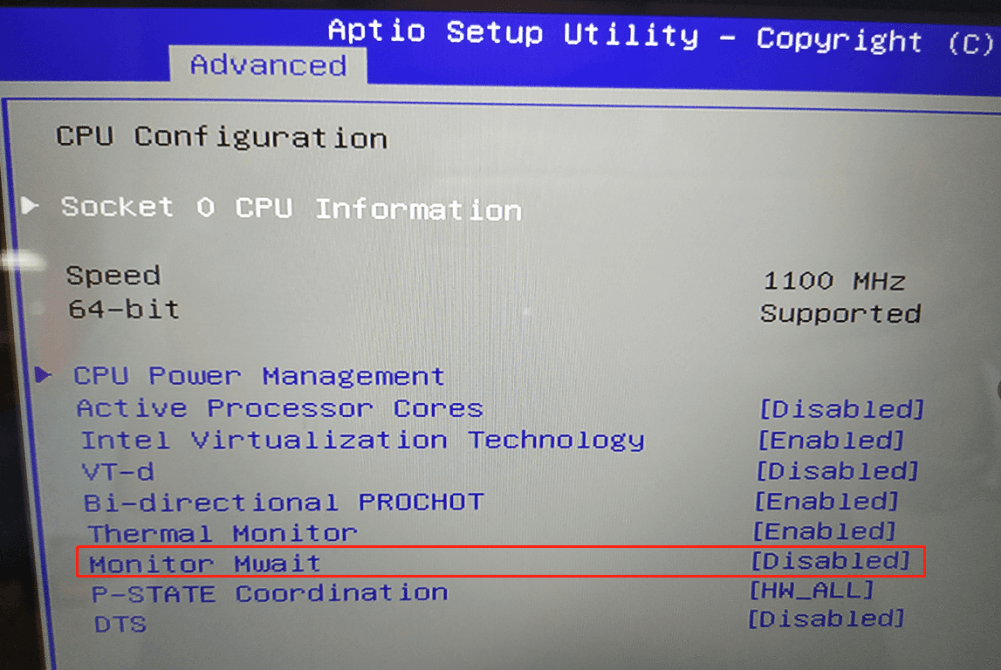
3. Set"Chipset->South Cluster Configuration->Miscellaneous Configuation->8254 Clock Gating" to "Disabled";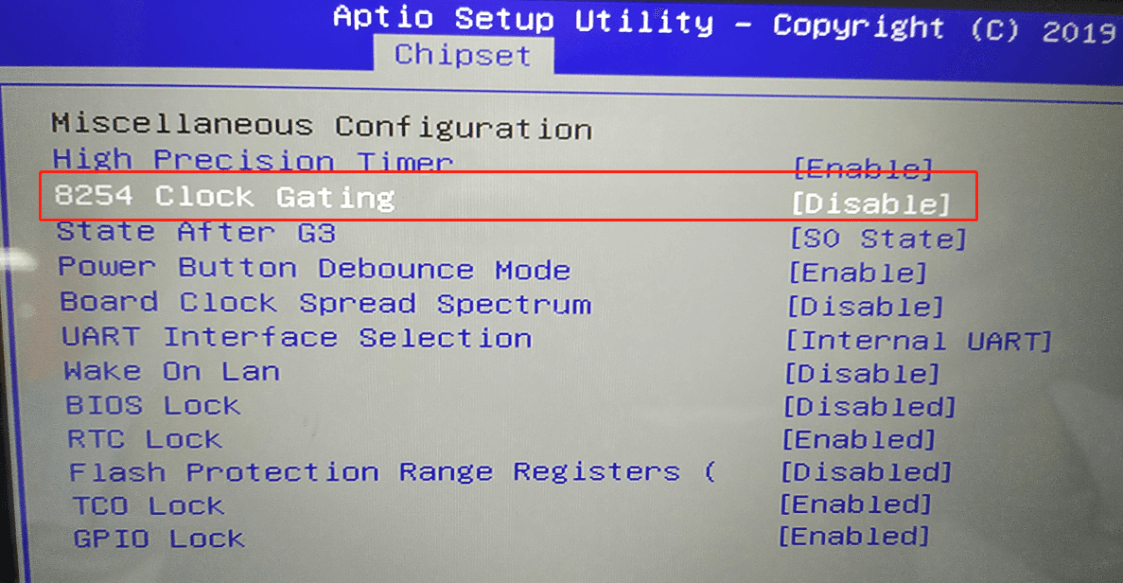
4. Press “F4” ,select “YES” and save the configuration;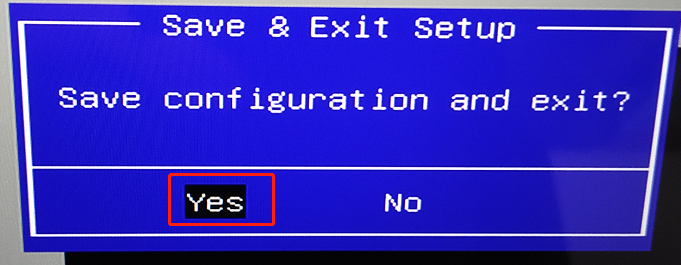
5. For the P1 laptop, insert the Linux USB flash boot drive into the USB port of laptop. Turn on the laptop and press "Fn" + "F7" until boot option appears in the screen. (hold down "Fn" and knock "F7" continuously).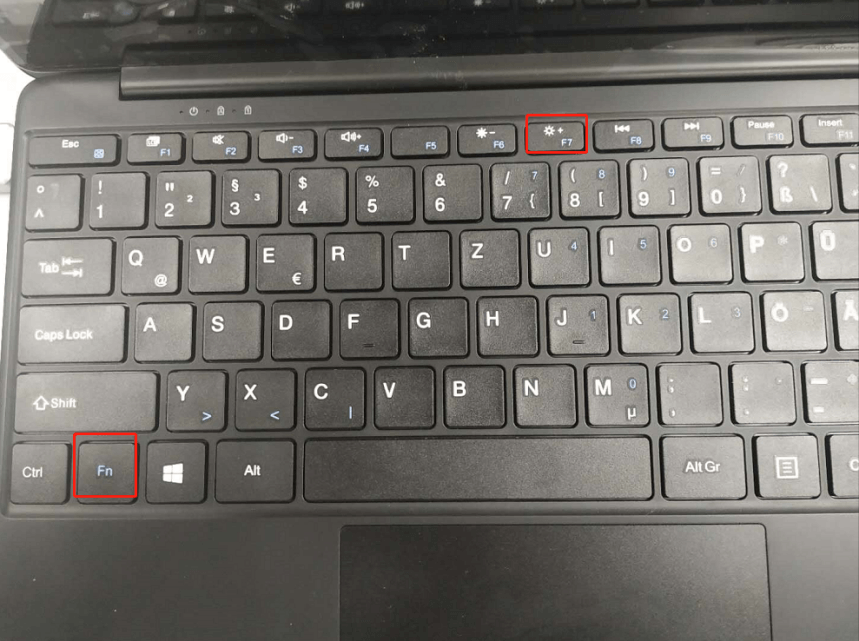
For the P2 and P3 laptop, insert the Linux USB flash boot drive into the USB port of laptop. Turn on the laptop and press "F7" until boot option appears in the screen. (knock "F7" continuously).
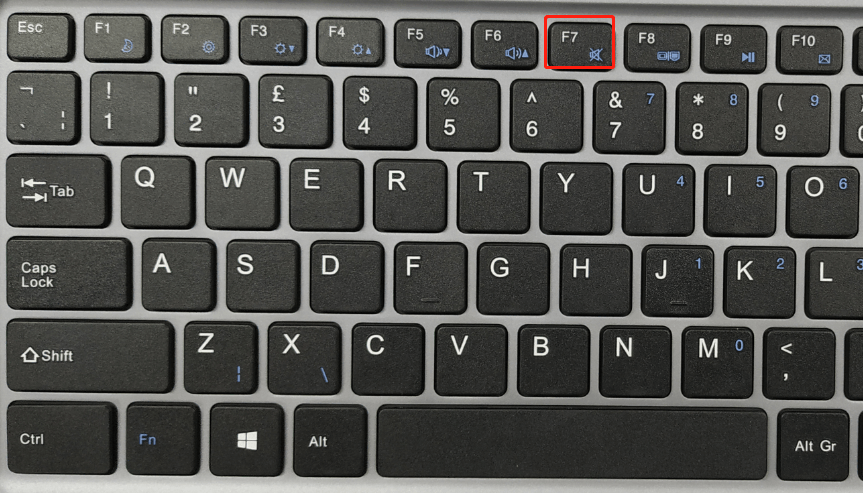
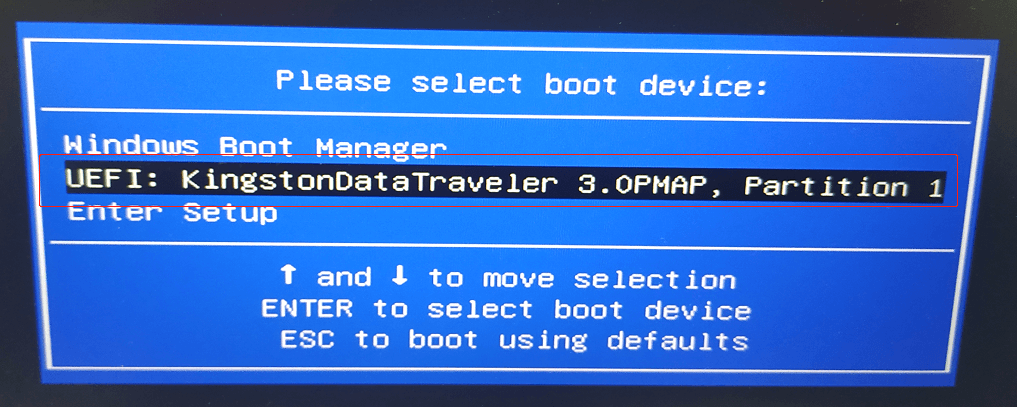
6. Then you can see the picture appears in the screen. You should choose your USB flash drive, and press "Enter":
(My USB flash drive is KingstonDataTraveler, so that you can fix the OS out of from your USB flash drive)
If you still find it too troublesome and time-consuming to install Linux this way, you can directly buy our P4 laptop, which includes the choice of a Linux operating system.


Dejar un comentario
Todos los comentarios se revisan antes de su publicación.
Este sitio está protegido por hCaptcha y se aplican la Política de privacidad de hCaptcha y los Términos del servicio.